Quick Start Guide for those trainers who are ready to take their business to the next level!
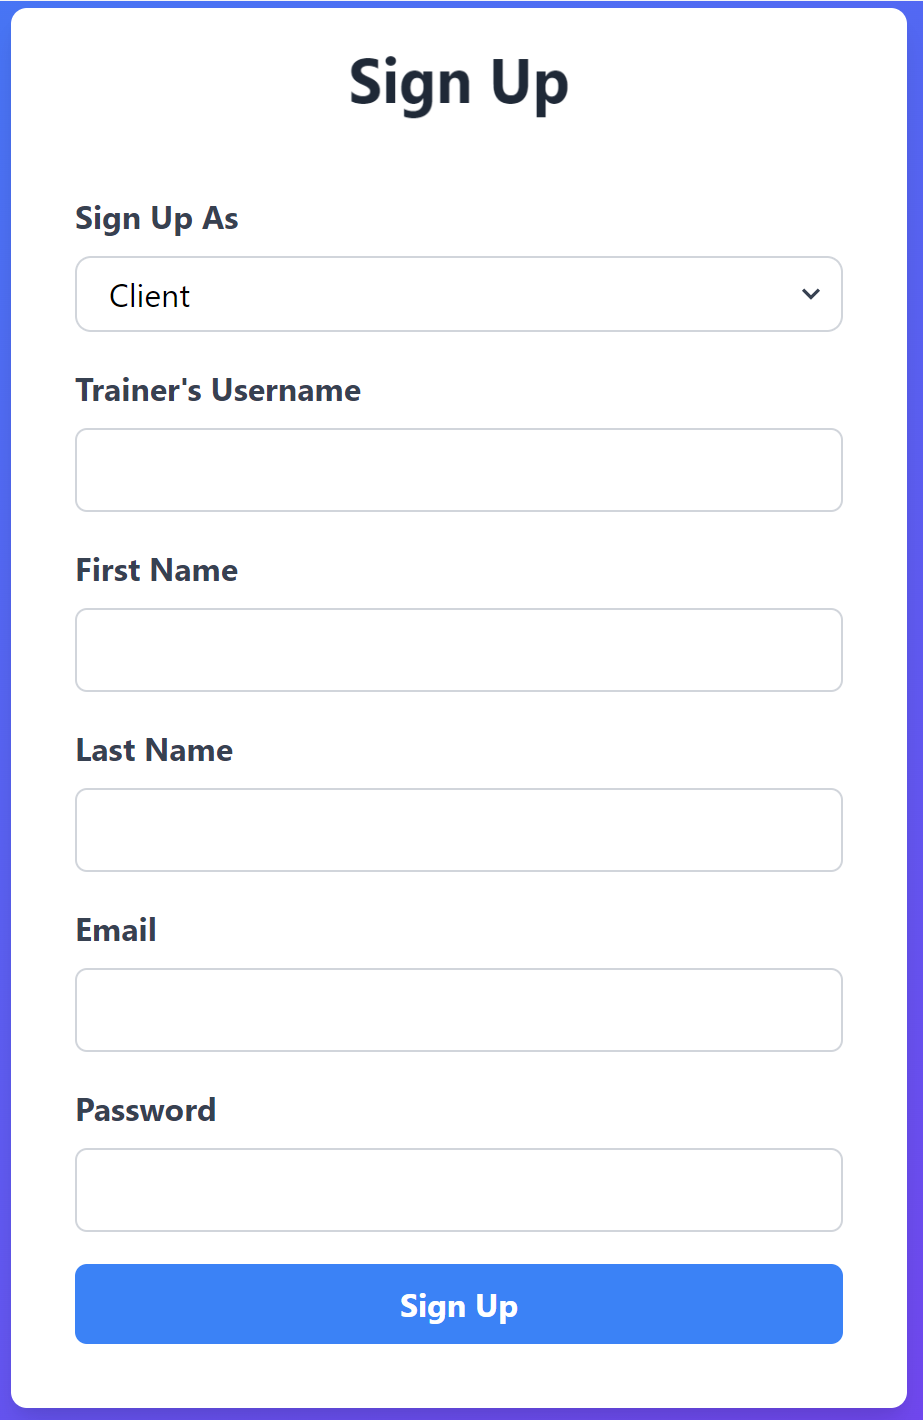
- Start by signin up, you can do this be select 'Signup' on the upper right corner of the screen.


- Go ahead fill the information and click 'sign up' at the bottom.
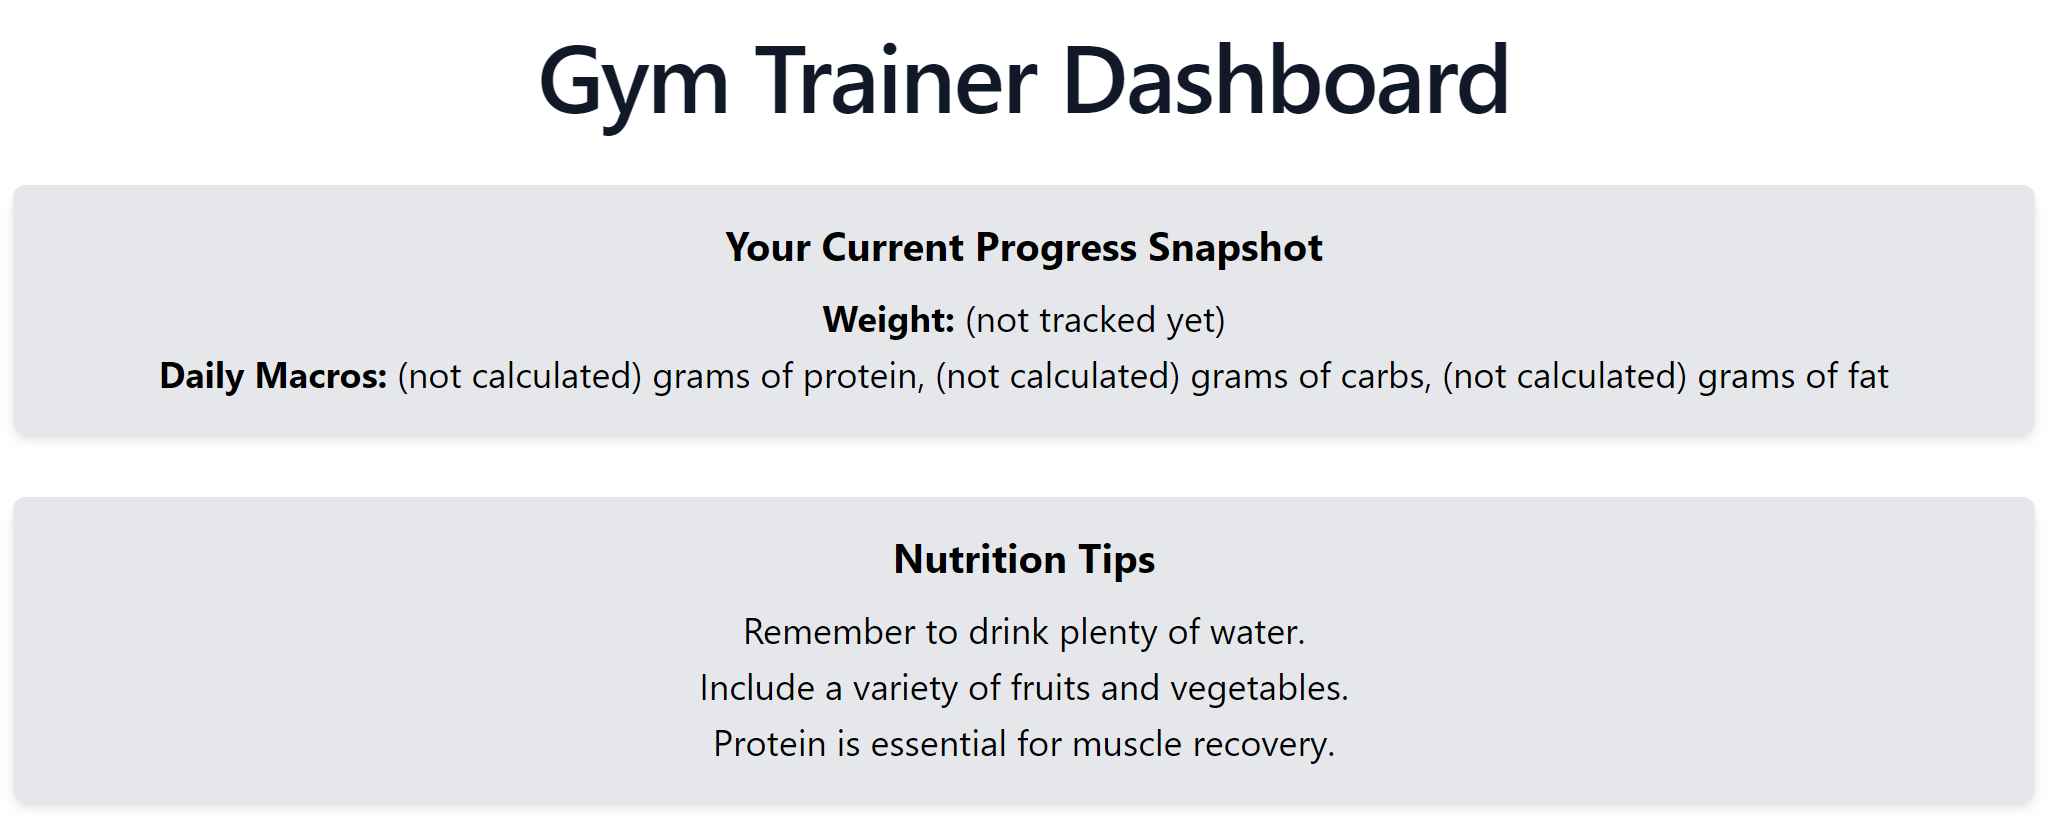
- Once you have finished you will be redirected to your new dashboard screen where your clients will be visible.
- Make note that if this is your first time, you will not have any clients visible. We will show you how to add a new client.
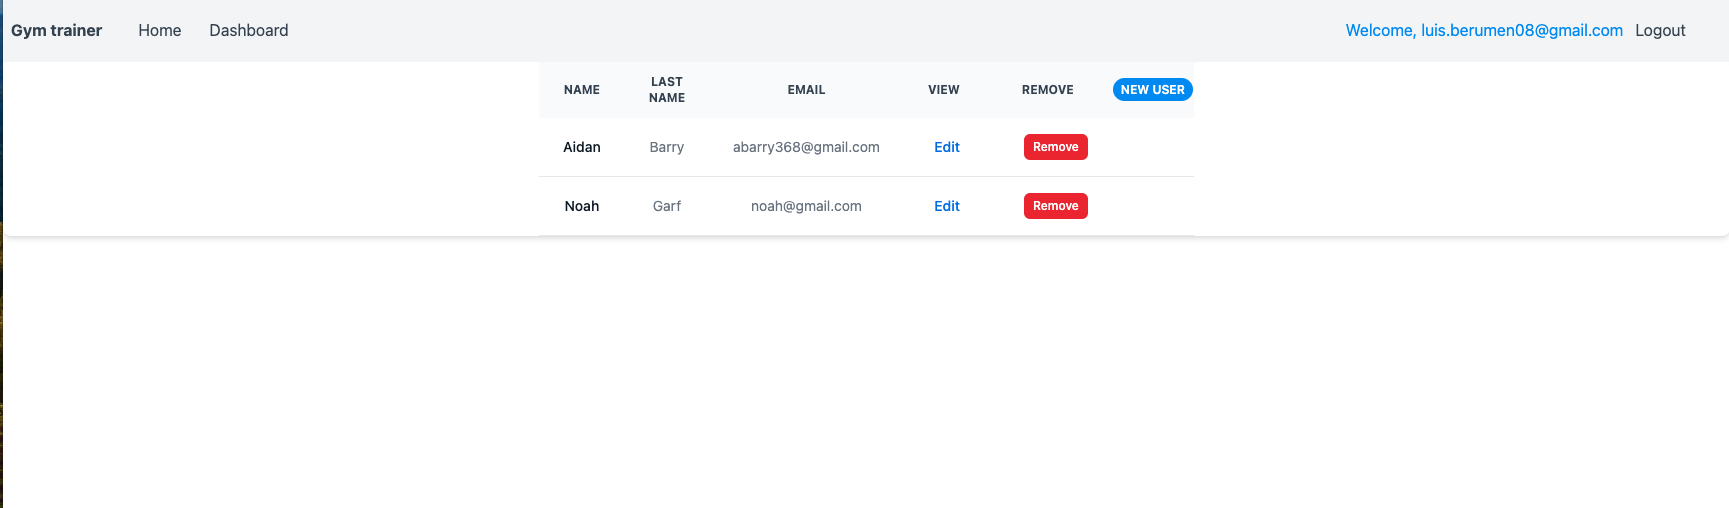
- Go ahead and click on 'new user'
- You will be redirected to the new user form. It will look like this.
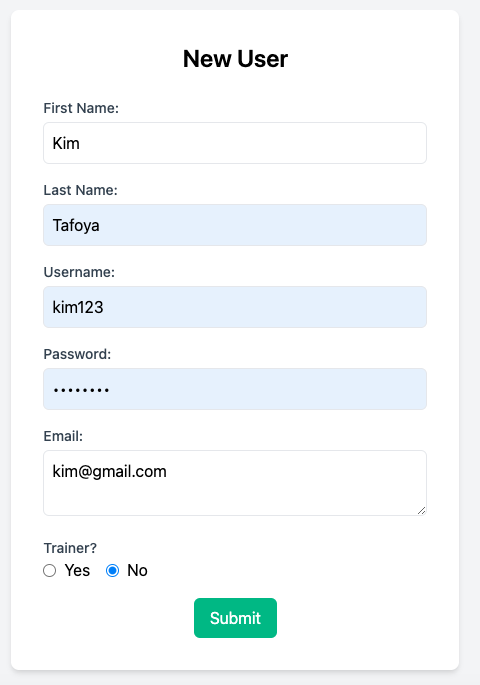
- Please enter the information for your new client.
- NOTE: if you are adding a new trainer to your facility here, you would select 'yes' to establish them as a trainer. Otherwise, select 'no'.
- Click 'Submit'.
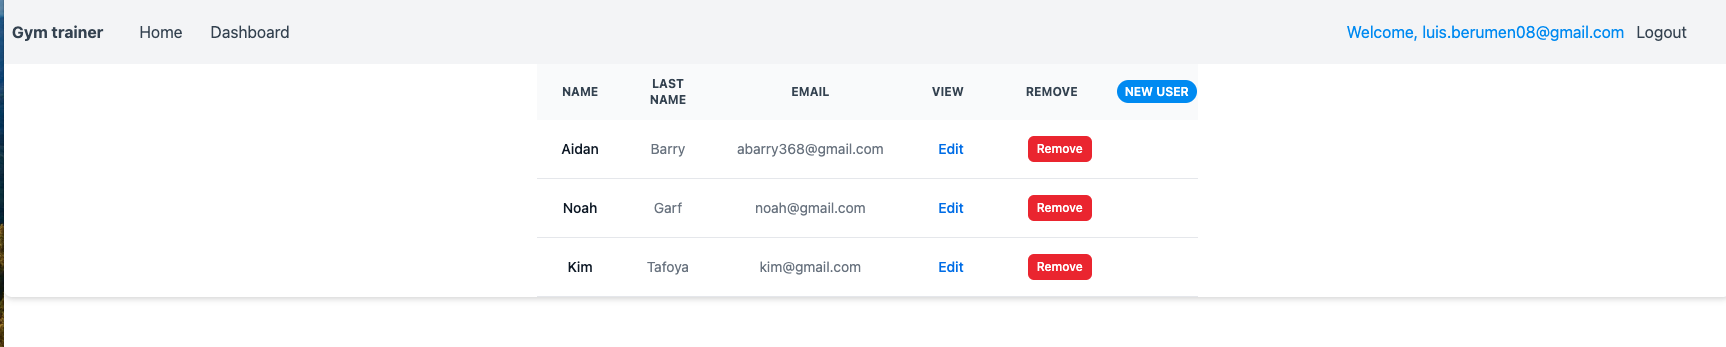
- As you can see, we have added the new client to our dashboard.
- Once the client has been added, you can start customizing their plan. Please select 'edit' next to their name to get started. You will be redirected to the client dashboard.

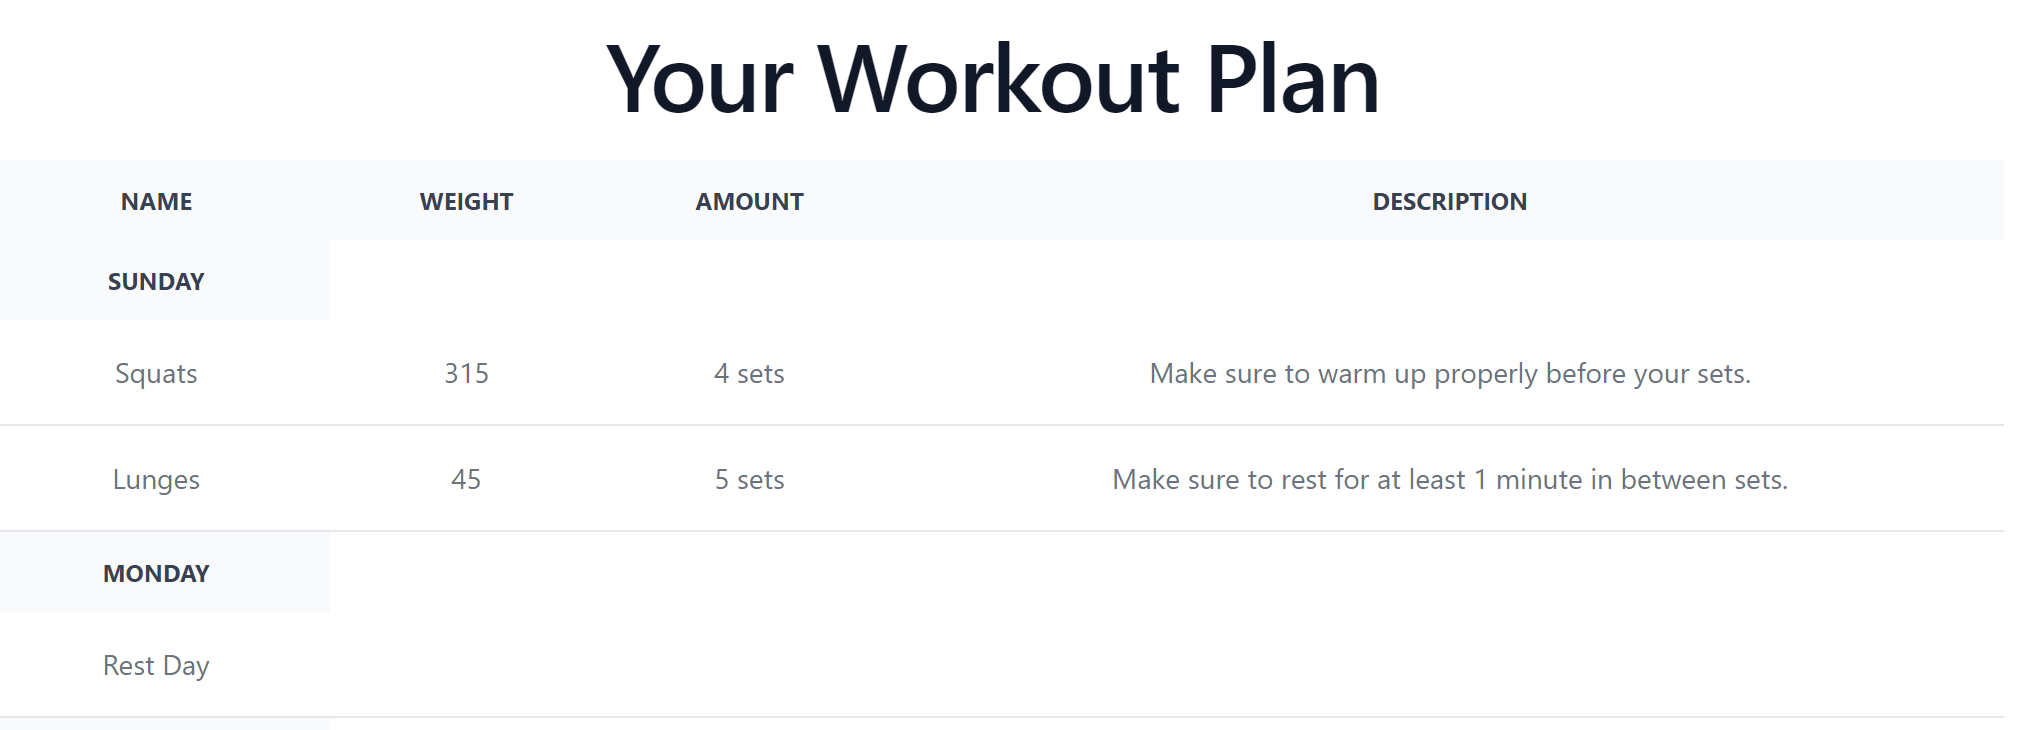
- Lets start by selecting 'Workout Plan'.
- You will be redirected to a new page to add exercises.
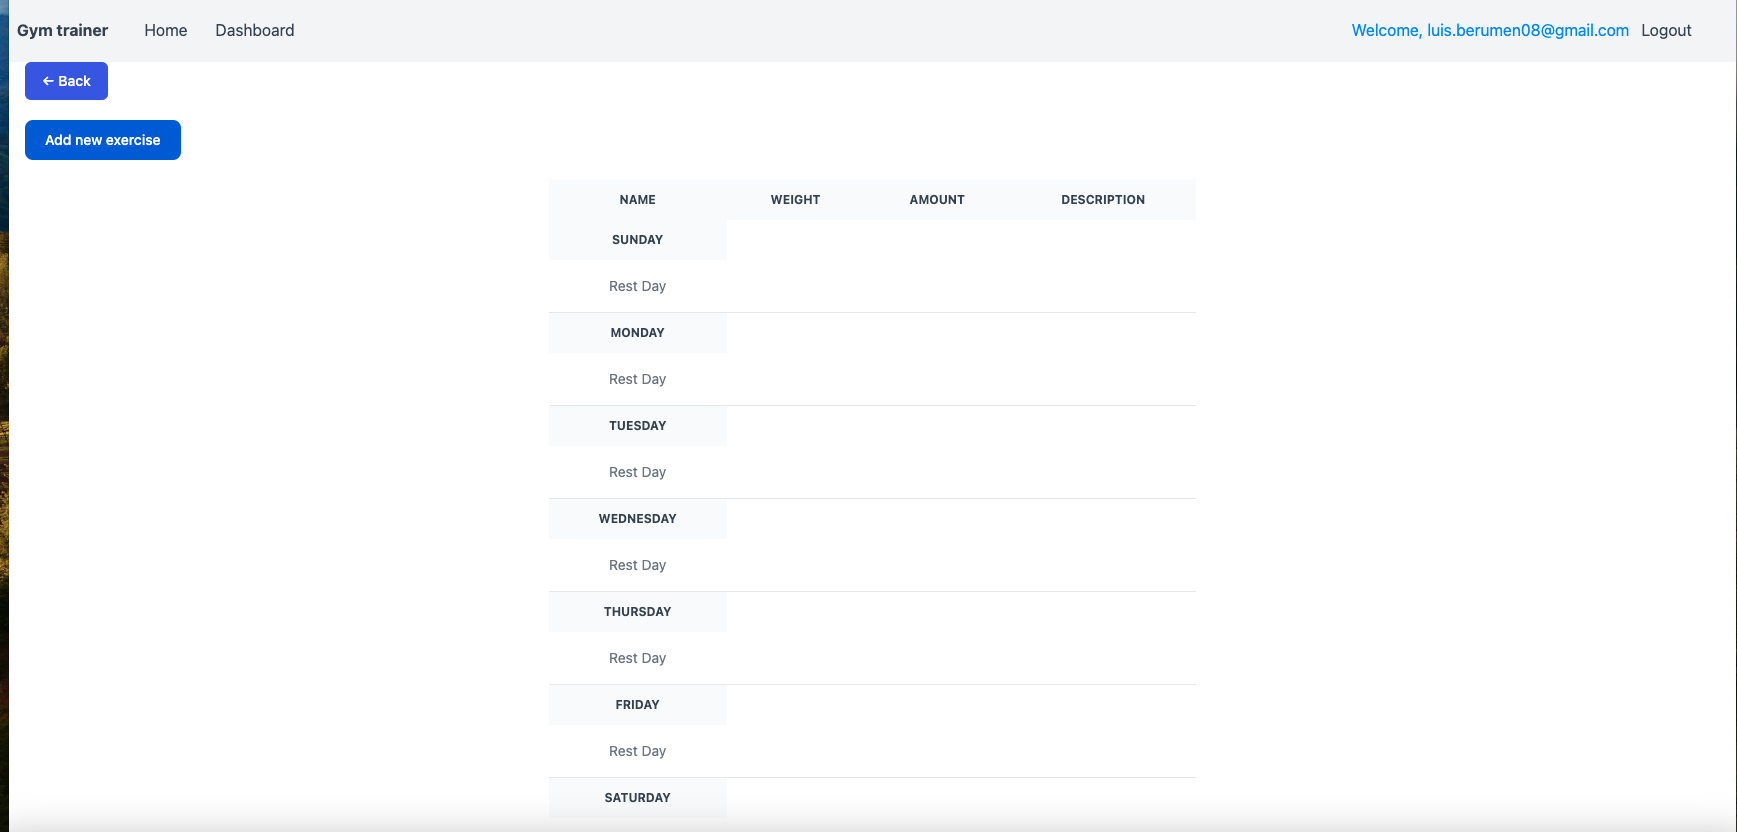
- Select 'Add new exercise' on the left side of your screen.
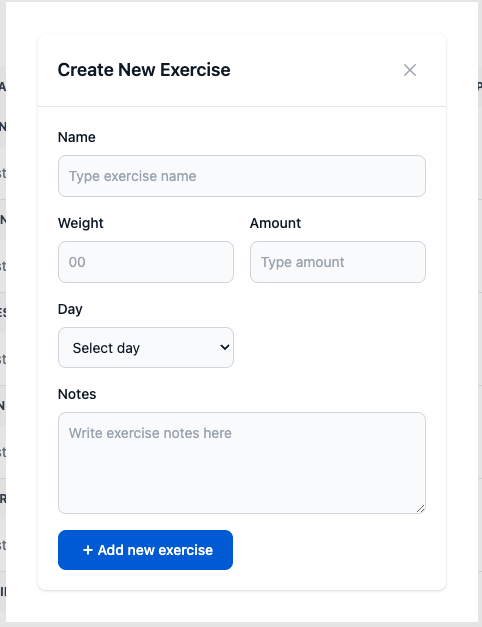
- The 'Create New Exercise' form will appear.
- Fill the necessary fields and click 'Add new exercise' at the bottom of your screen.
- The newly added exercise will now be added to the client's form.
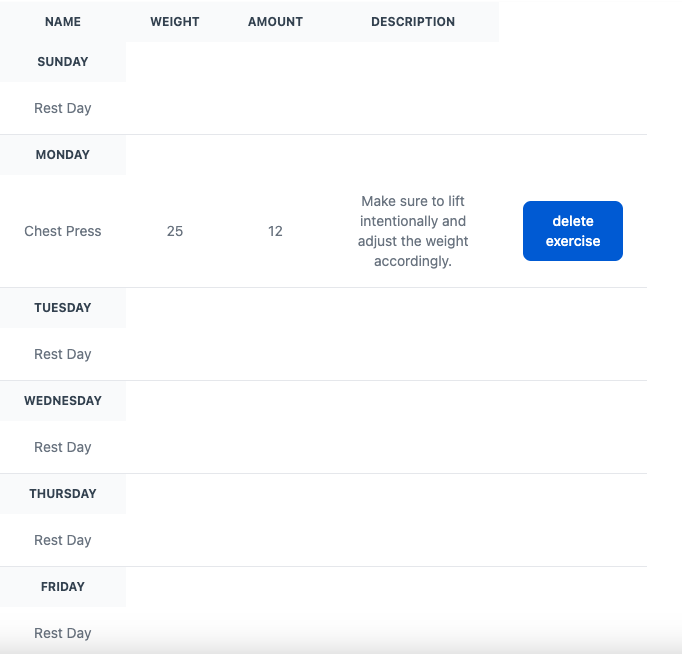
- If you have to delete an exercise. Click 'delete exercise' to the right and the exercise will be removed.
- Once you have completed this, select 'back' to go back to the client's dashboard.
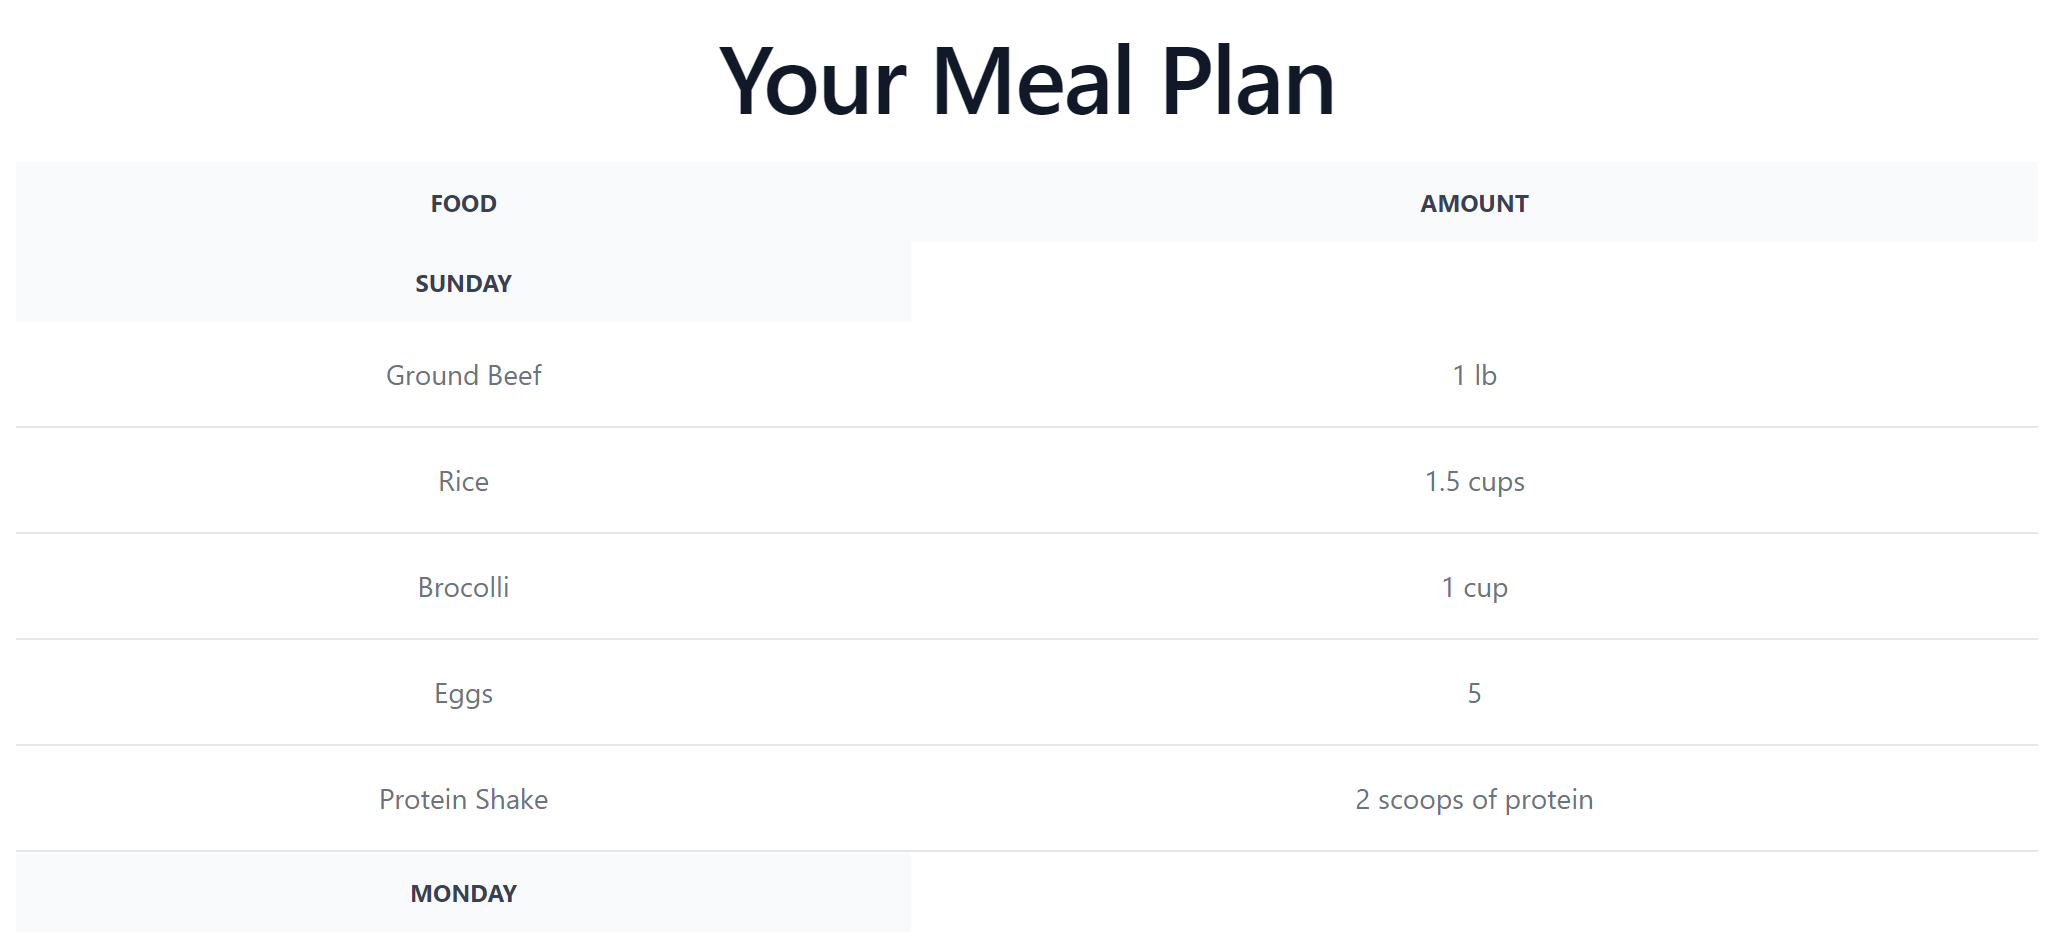
- Now, let's select 'Meal Plan' to edit the client's meal plan.

- You will be redirected to the meal plan dashboard.

- Select 'Add new food item'.
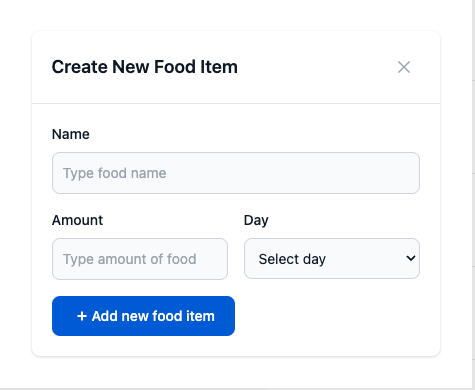
- The 'create new food item' form will appear.
- Now, add all the necessary fields and click 'Add new food item' button at the bottom.
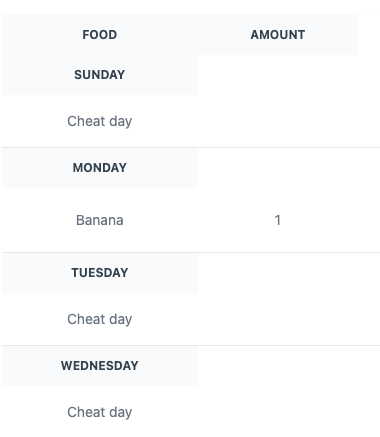
- The new food has been added. If you wish to delet, select 'delete food' on the right on the screen.
- Let's click back to continue with the client dashboard.
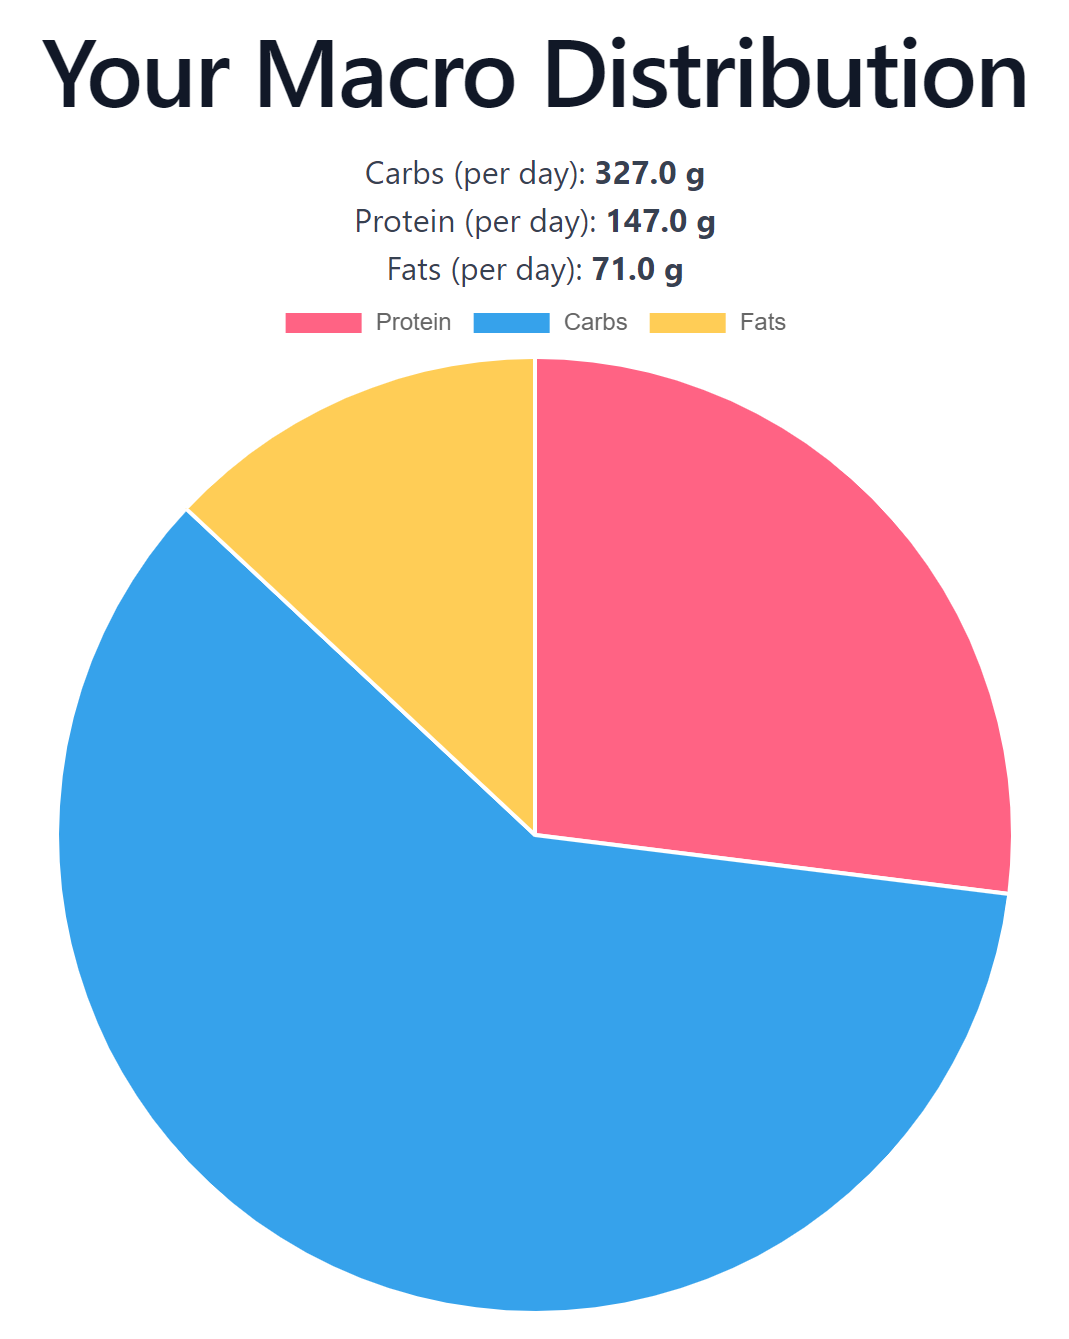
- Let's select 'Macro Calculator'.
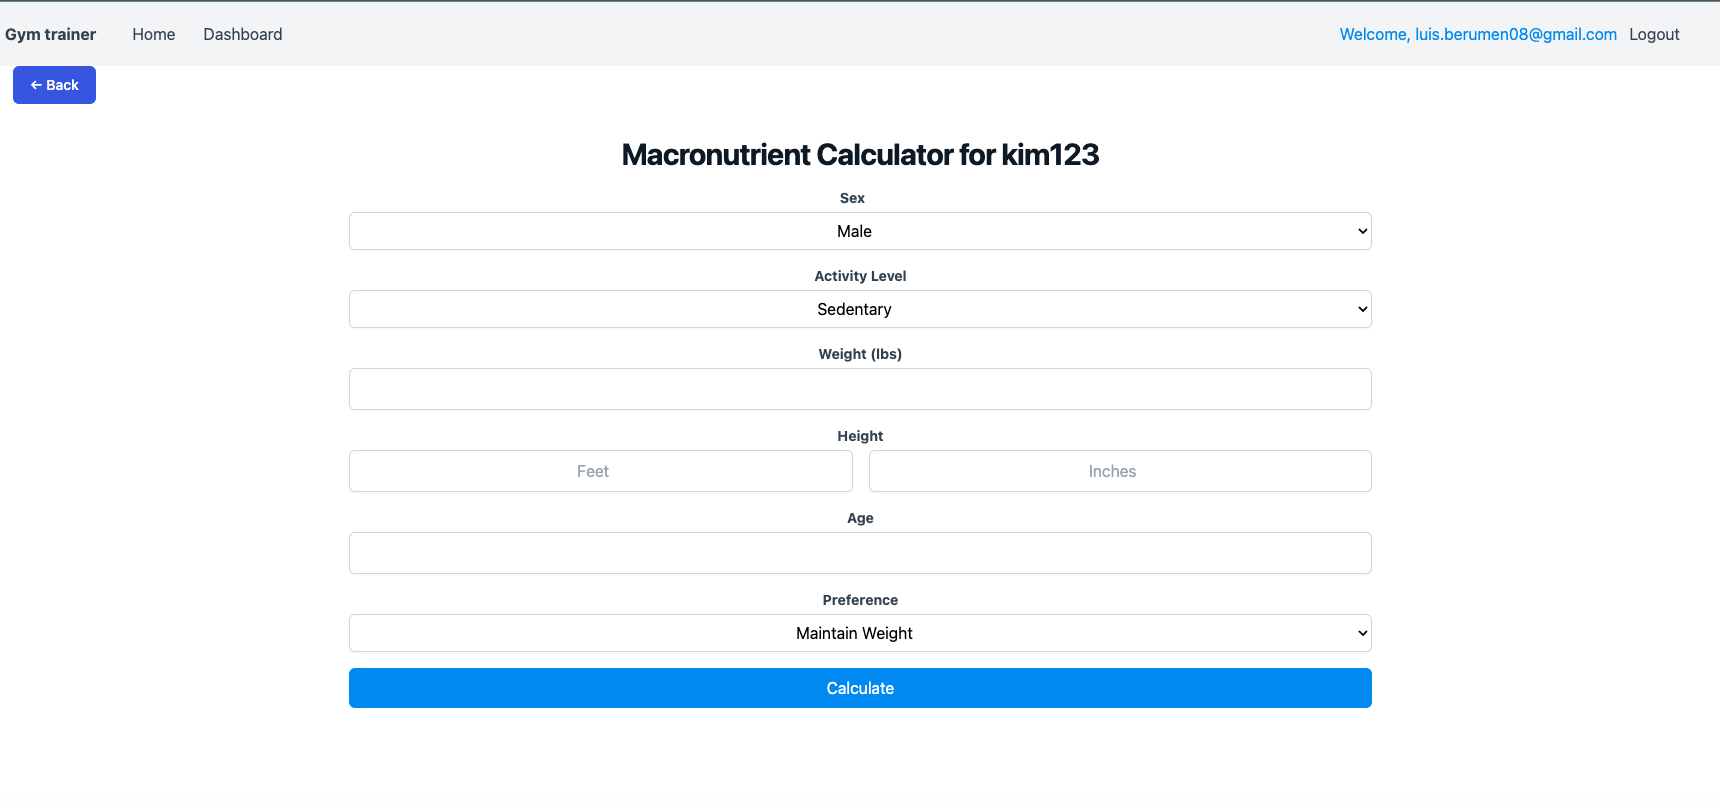
- The Macro Nutrient Calculator for your client will appear.
- Fill out all the necessary fields to calculate your clients nutrients.
- Once finished, select 'Calculate'.
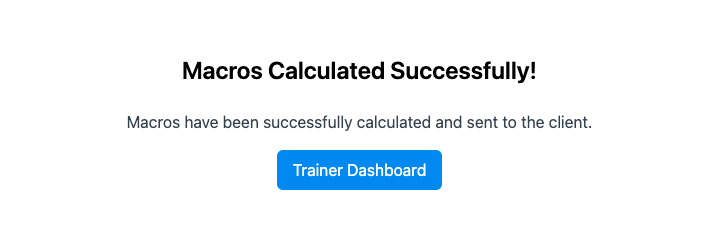
- Once completed, the information will be sent over to the clients page for you to review with them.
- Let's head back to the client dashboard
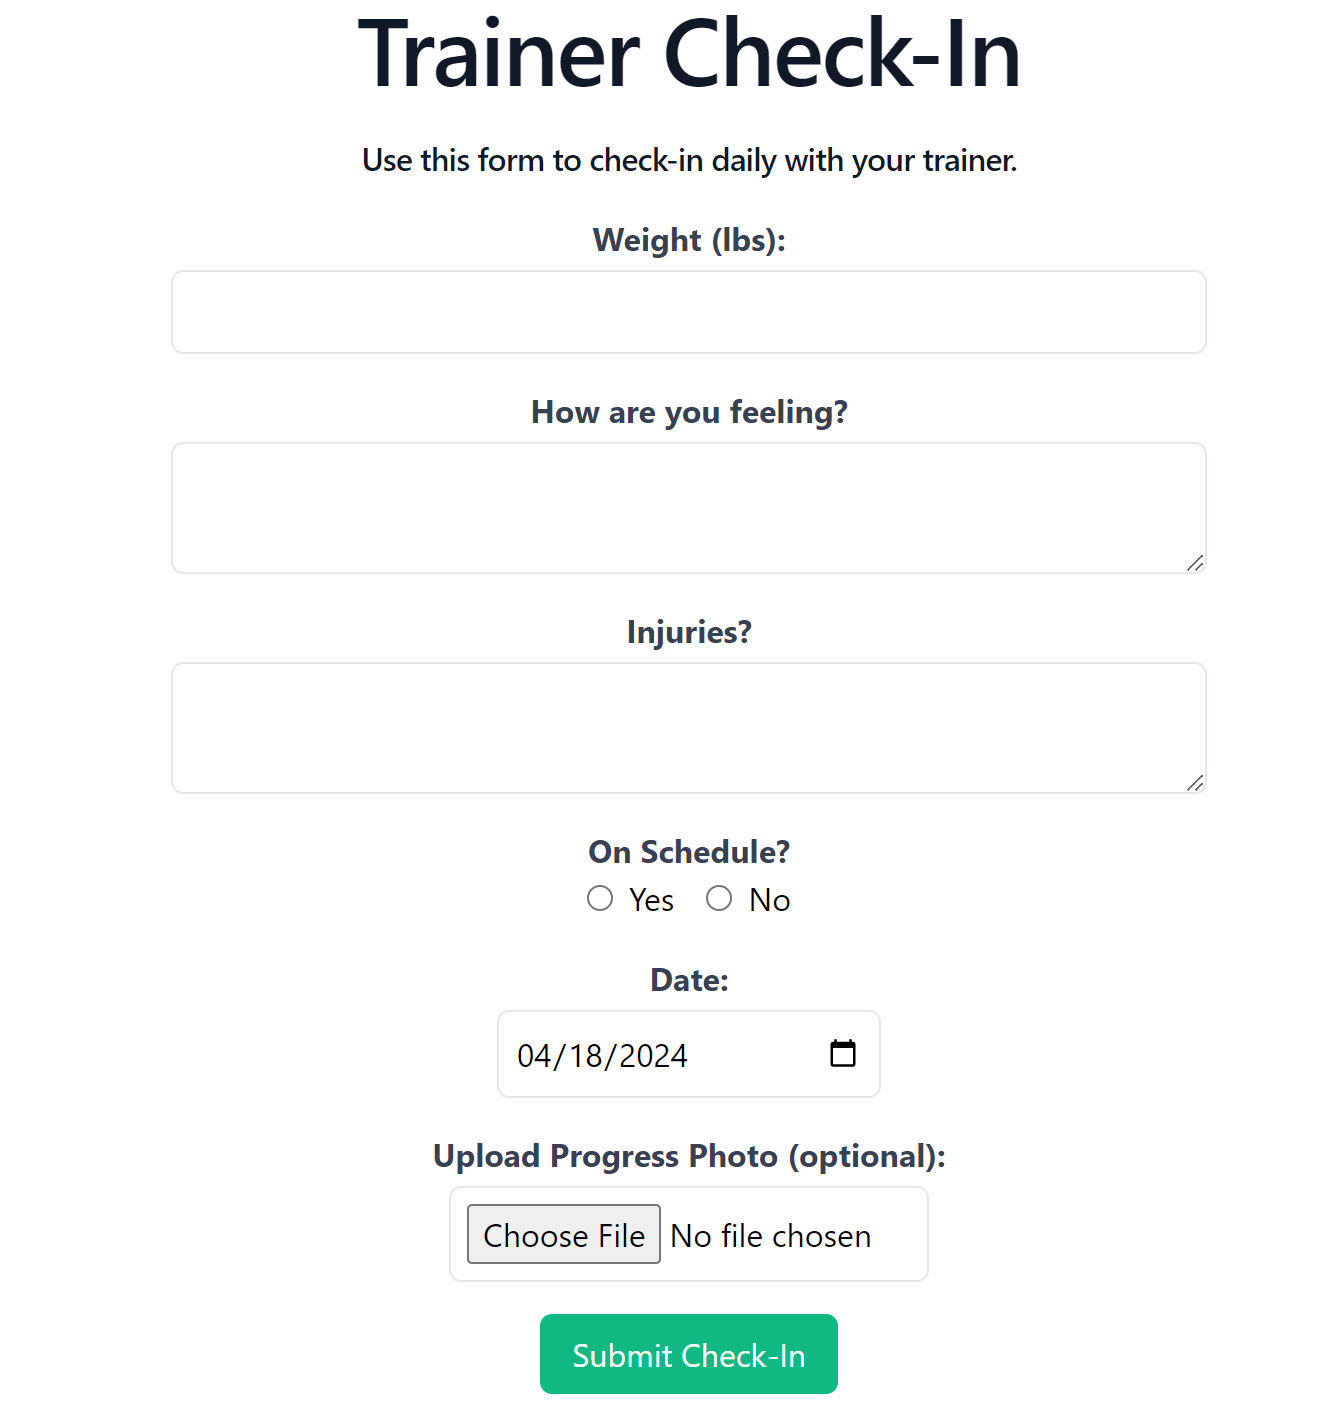
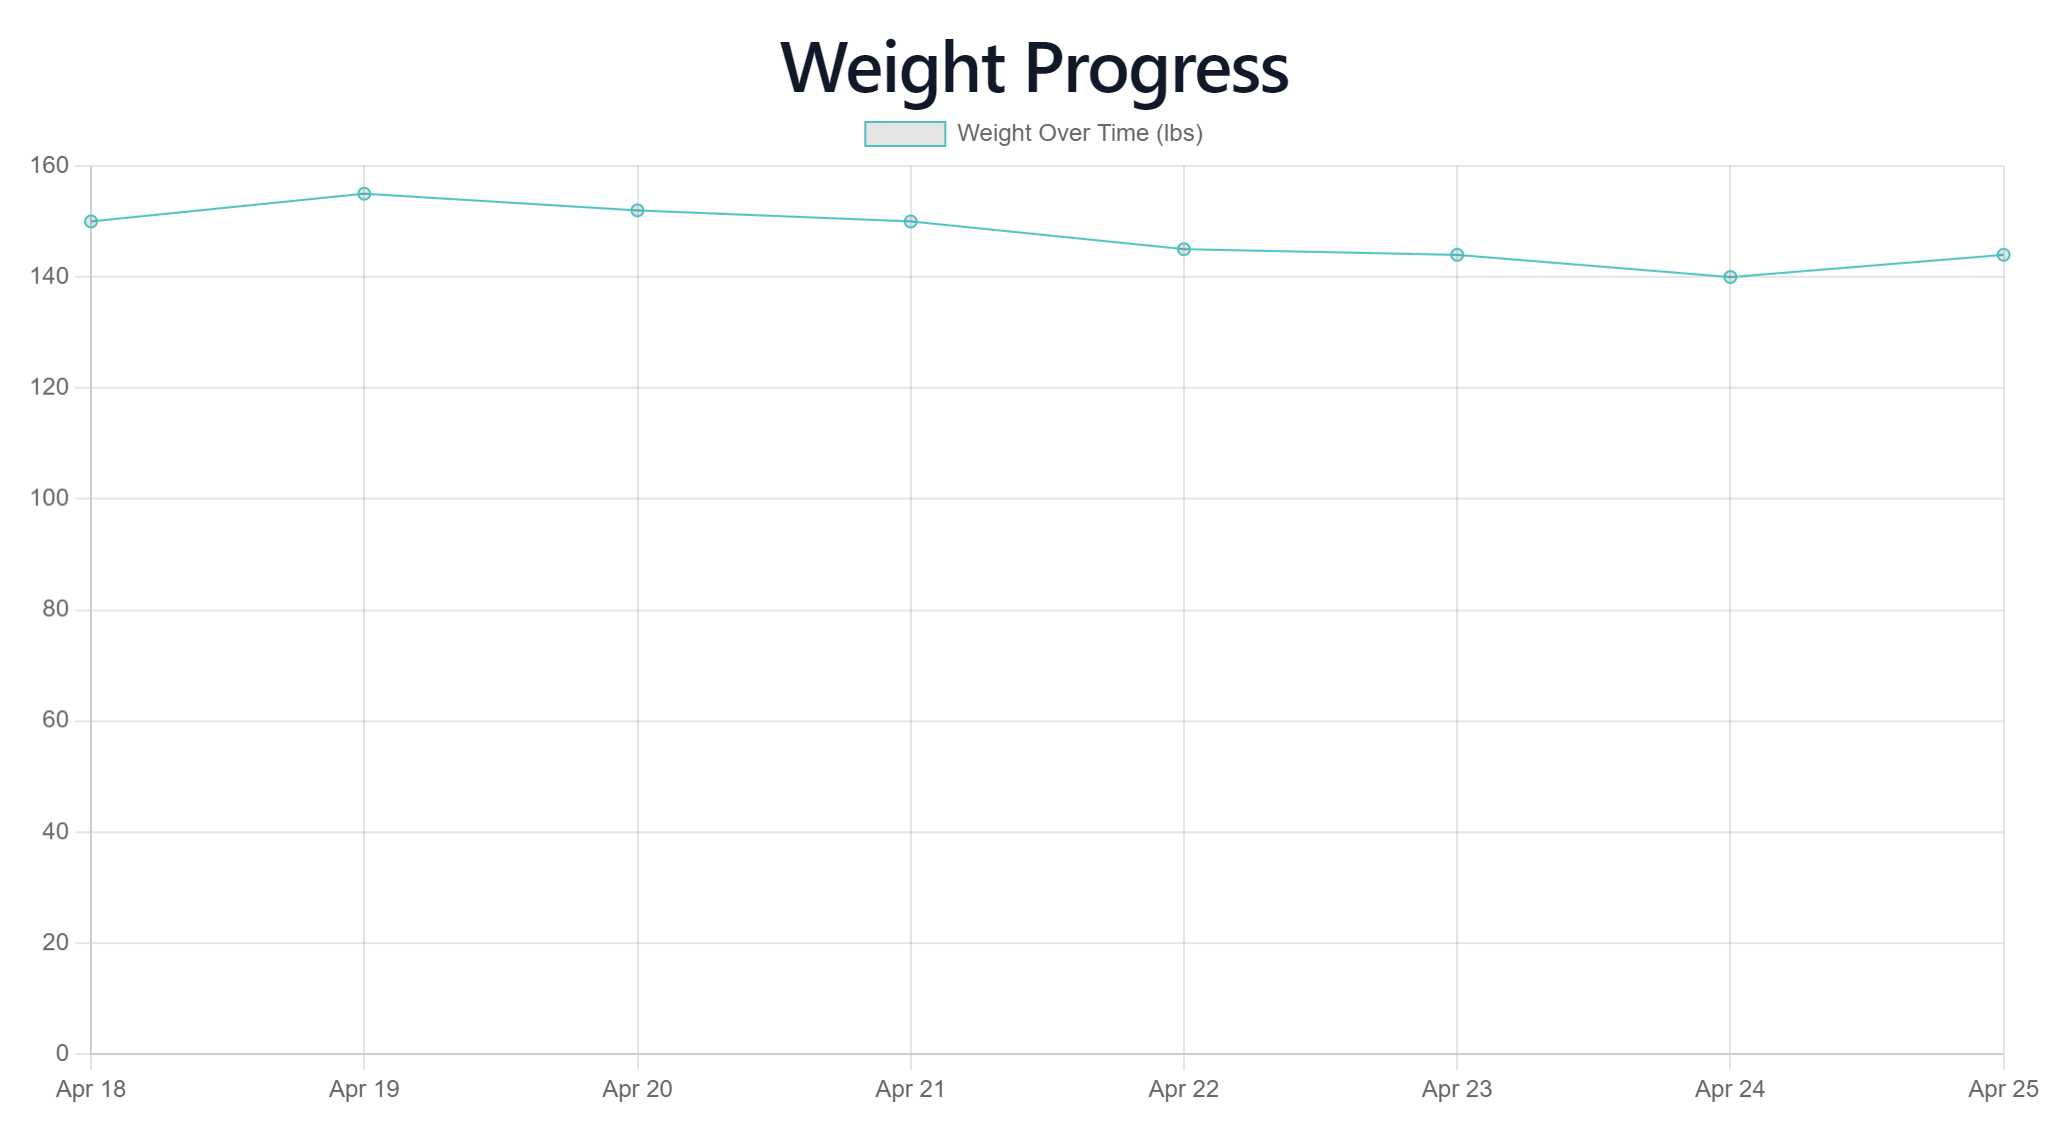
- Let's click 'check ins'.
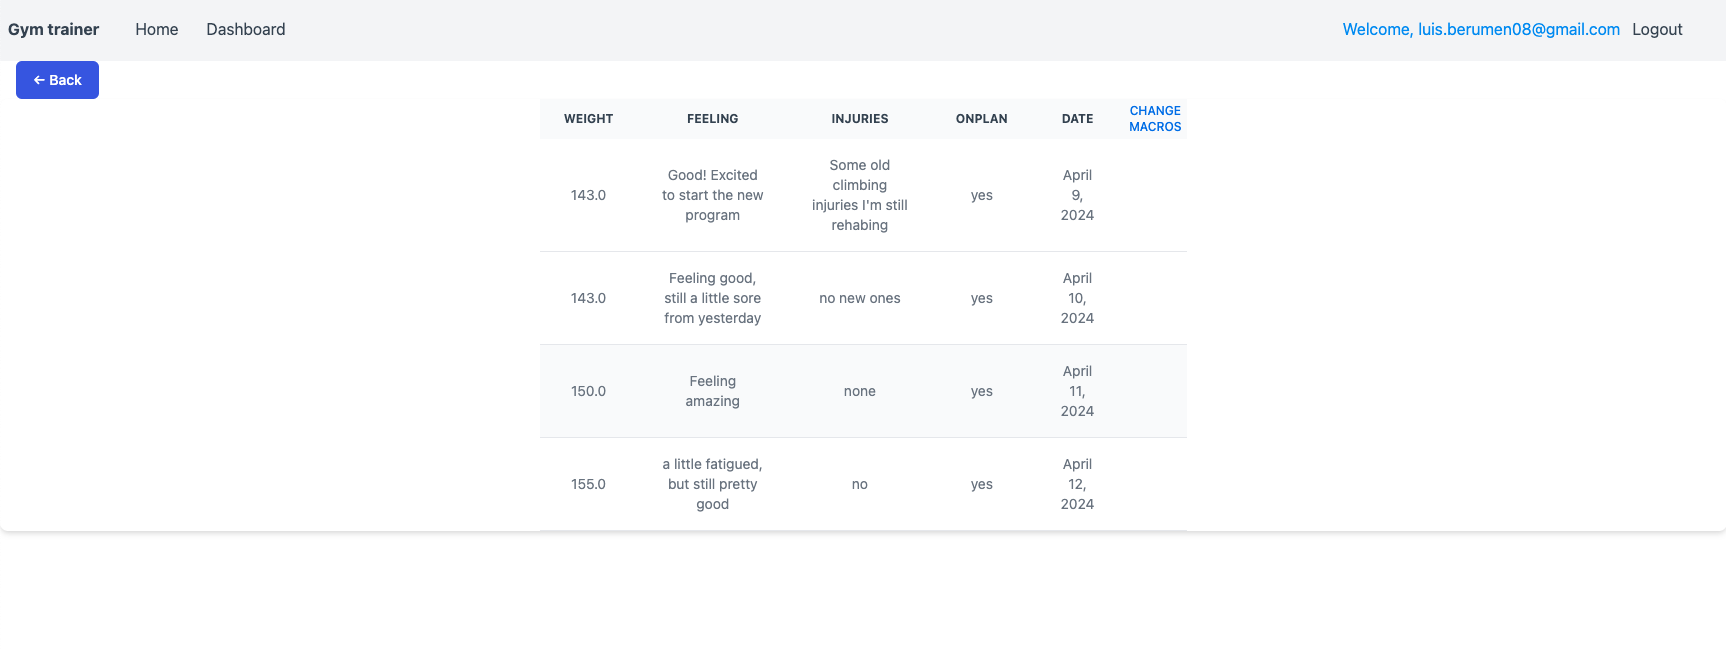
- This page will show all of the check-ins for a client.
- If the trainer feels like there should be a change. Select 'CHANGE MACROS' at the top of the screen, you will be redirected to the previous page to adjust macros.
- NOTE: if the client is new they will not have any check in history.
- Now you should be completely set up and ready to start training!